

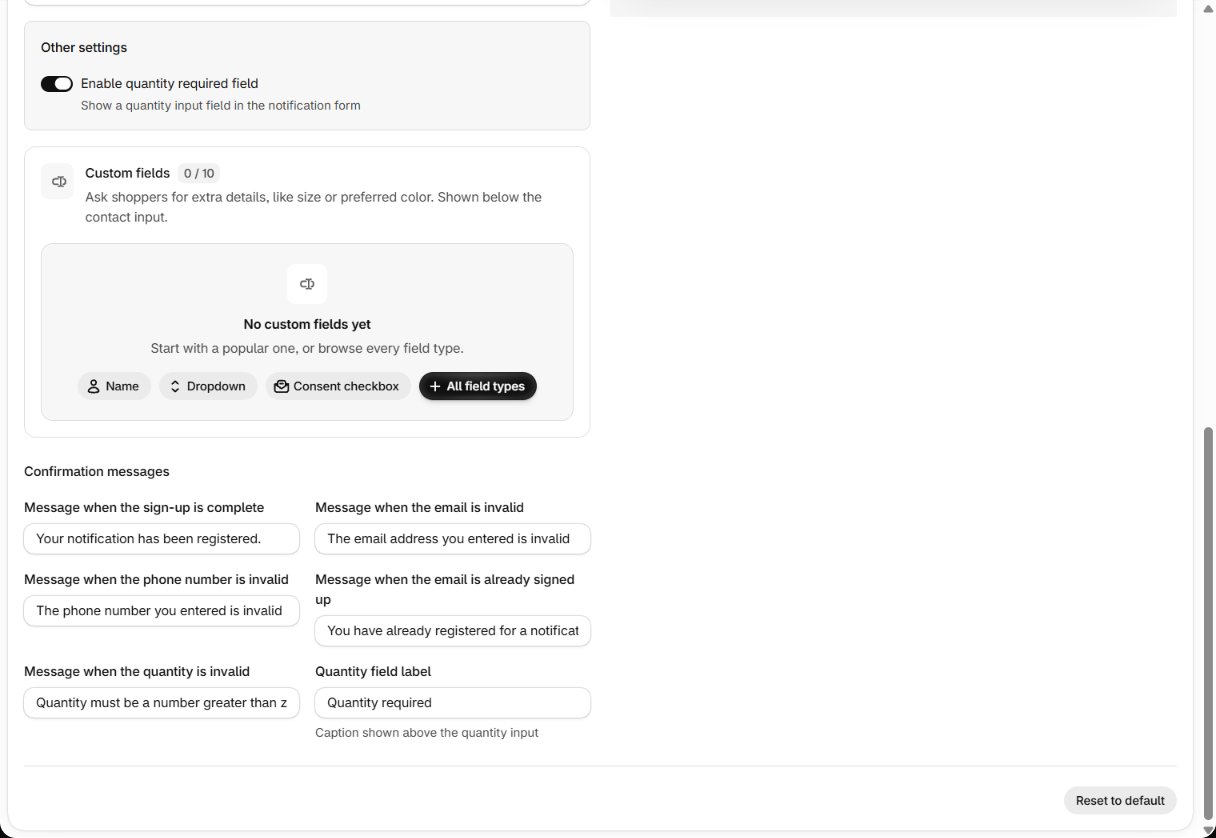
Adding a field
- In Custom fields, pick a popular field (Name, Dropdown, Consent checkbox) or All field types.
- Set its label, placeholder, and whether it is required.
- Add validation rules or conditions if you need them (below).
- Check it in the live preview, then save with the save bar.
Field types
Limits: labels up to 120 characters, short text answers up to 200, long text up to 1,000.
There is no built-in consent checkbox. If you need marketing or privacy consent, add a
Consent field and make it required.
Validation
Each field can have rules — a number range, a date range, letters only and so on — and a custom message. Shoppers see it below the field, for example Please enter a number between 1 and 10. A required field left empty shows This field is required. The same rules are checked again when the form is submitted.Showing a field only to some shoppers
A field can be shown, hidden or made required depending on up to 5 conditions:
The storefront hides and shows fields as the shopper answers, and the server checks the conditions
again, so a hidden required field never blocks a sign-up.
Where the answers appear
- Analytics → Sign-ups — searchable (Search product, SKU, contact or answer).
- The customer report CSV, one column per field.
- Your sign-up alert emails, and the New subscriber Shopify Flow trigger.
- In messages, as variables —
{{ form.<id> }}.
Message templates
Use the answers in your restock messages.